Pear Butter Sourdough Cinnamon Rolls with a Honey Glaze
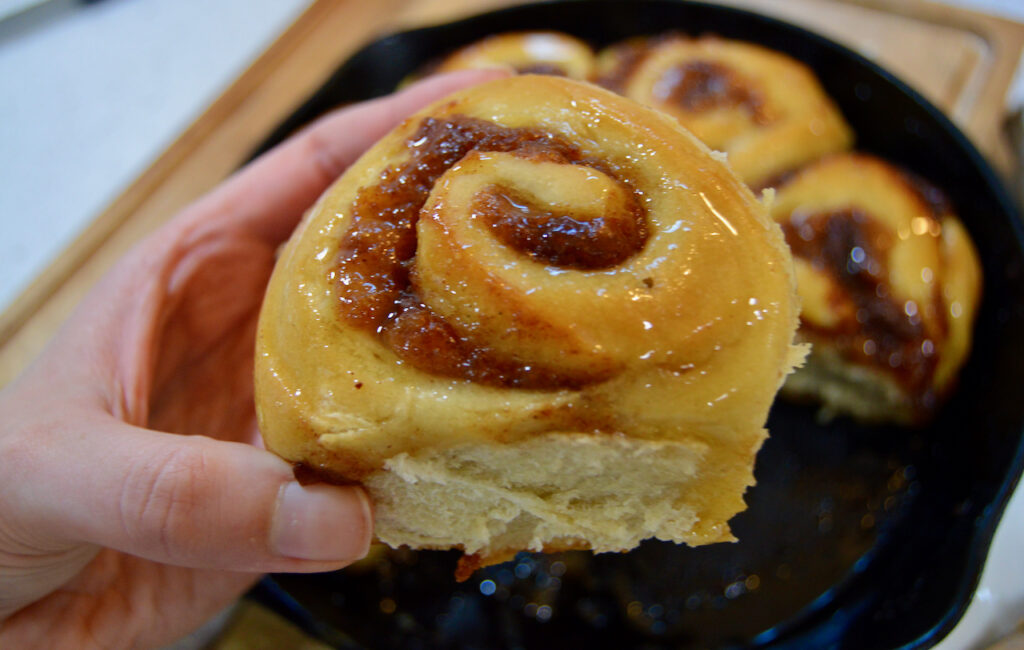
Introducing Pear Butter Sourdough Cinnamon Rolls…jammy, fluffy, and sweetened with a lovely honey glaze. Can you think of a more welcome treat for your weekend guests when they wake up in the morning? I love to have a savory and sweet option when entertaining guests for breakfast. The smell throughout the house is better than any candle and creates an impressive spread. I love using sourdough, but this recipe is also flexible to meet your preferences!
Pear Butter Sourdough Cinnamon Rolls for Fall Entertaining
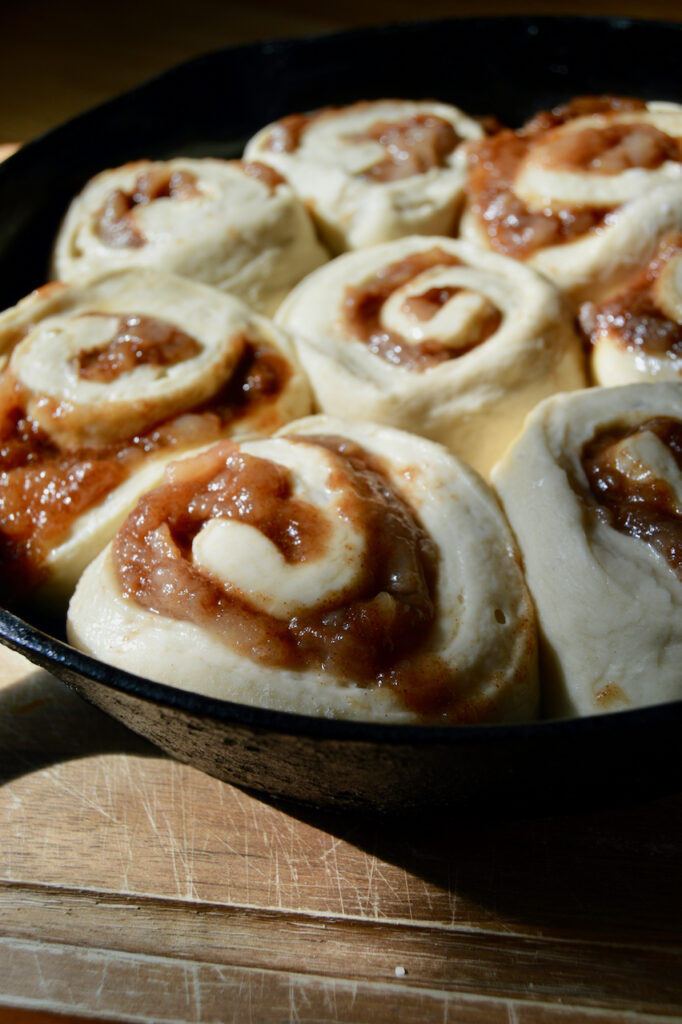
These Pear Butter Sourdough Cinnamon Rolls celebrate the flavors of fall so well. I think pears are quite underrated in the craze of pumpkin-everything, but I thoroughly take advantage of pear season in my house. I use homemade pear butter for the filling of these cinnamon rolls. If you don’t have this homemade pear butter on hand (which you should, it’s just so easy to make), you can substitute any fruit butter you enjoy. I’m sure local farmers markets have many lovely flavors to enjoy, apple butter would be an excellent substitution.
Glazing Pear Butter Sourdough Cinnamon Rolls
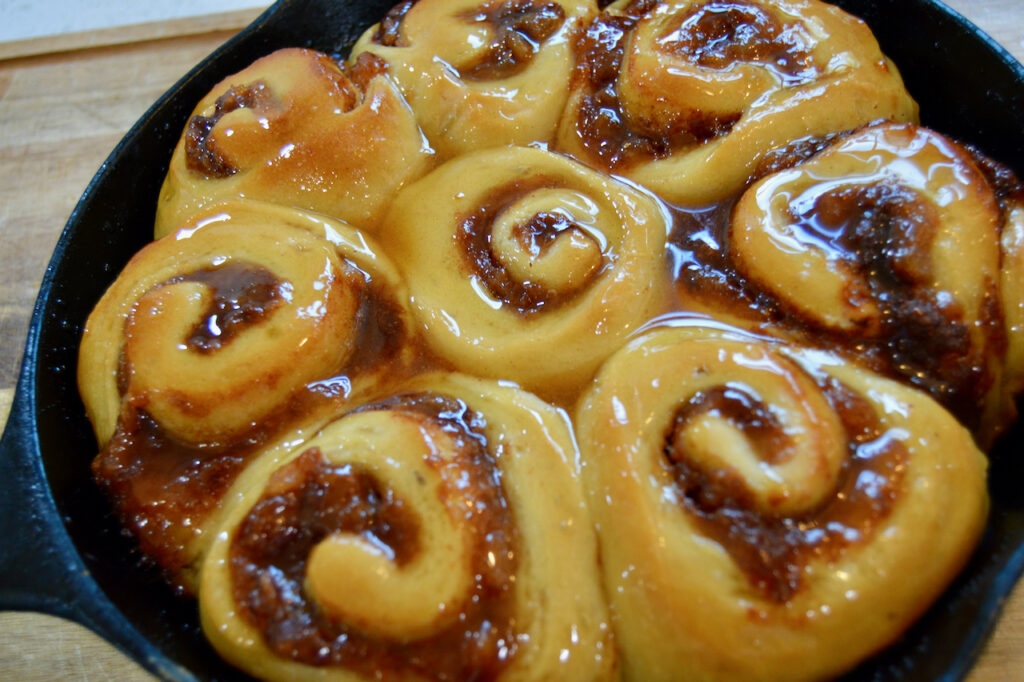
I know cinnamon rolls traditionally have the THICK cream cheese icing and it is heavenly, but in the vein of offering this to guests for breakfast in the morning, I don’t want to knock them over with a diabetic coma 2 hours into their visit so I make this simple honey glaze that creates this beautiful glossy, golden brown roll that allows the pear flavors to shine without drowning in frosting! Though you can totally use your own cream cheese icing if you prefer, I’ll allow it.
Using Sourdough Starter for Pear Butter Cinnamon Rolls
Lastly, these Pear Butter Sourdough Cinnamon Rolls use sourdough starter to create the rise. If you aren’t using sourdough yet I will put substitutions to make them with yeast. This will still make a great cinnamon roll, but you are missing out on the fermentation benefits of sourdough. But that’s ok, no shame here!
Method:


Alternative instructions if using yeast:
- Whisk yeast, honey and warmed milk together and allow to bloom for 5 minutes. Trickle in melted butter will continuing to whisk. Once combined throughout, mix in flour and salt, a little at a time. You may need to switch to a spatula. Once the dough has achieved a sticky ball (it does not need to be smooth) and the flour is no longer visible, scrape down the sides and cover for 30 minutes.
- If you have a mixer, use a dough hook to knead the dough on low speed (#2 on Kitchen Aid stand mixer), or hand knead for 5-7 minutes or until dough is soft and you can pinch the dough and pull it about 2” away. If you knead it too long it will likely break apart before 2” and if you haven’t kneaded it long enough it will be too squishy to pull.
- Cover with plastic wrap for 2 hours for 1st proof. Room temp determines time. But it may take less time if the room temperature is warm. It will be done when the dough has doubled in size.
- Roll out dough and follow above instructions, 2nd proof will only take 30 minutes to 1 hour and they will be ready to bake!
Pear Butter Sourdough Cinnamon Rolls
Equipment
- 1 Stand mixer with dough hook
- 1 Rolling Pin
- 1 strand of dental floss or sharp knife/bench scraper
- 1 8" or 9" baking dish
Ingredients
Sweet Dough:
- 175 g milk, slightly warmed or 3/4 cup
- 30 g salted butter, melted, cooled or 2 tbsp
- 1 egg
- 100 g active sourdough starter
- 30 g honey or 2 tbsp
- 350 g bread flour or 3 cups
- 8 g salt or 1 tsp
Filling:
- 1 cup quick pear butter cooled
- 1/4 c brown sugar
- 1 tsp cinnamon
Honey Glaze:
- 1/4 c honey
- 2 tsp water
- 1/8 tsp pumpkin pie spice can sub cardamon for a different flavor
Instructions
- In a mixing bowl whisk together egg, honey, sourdough starter.
- Then trickle in milk and cooled, melted butter while whisking. Once combined throughout, mix in flour and salt, a little at a time. You may need to switch to a spatula.
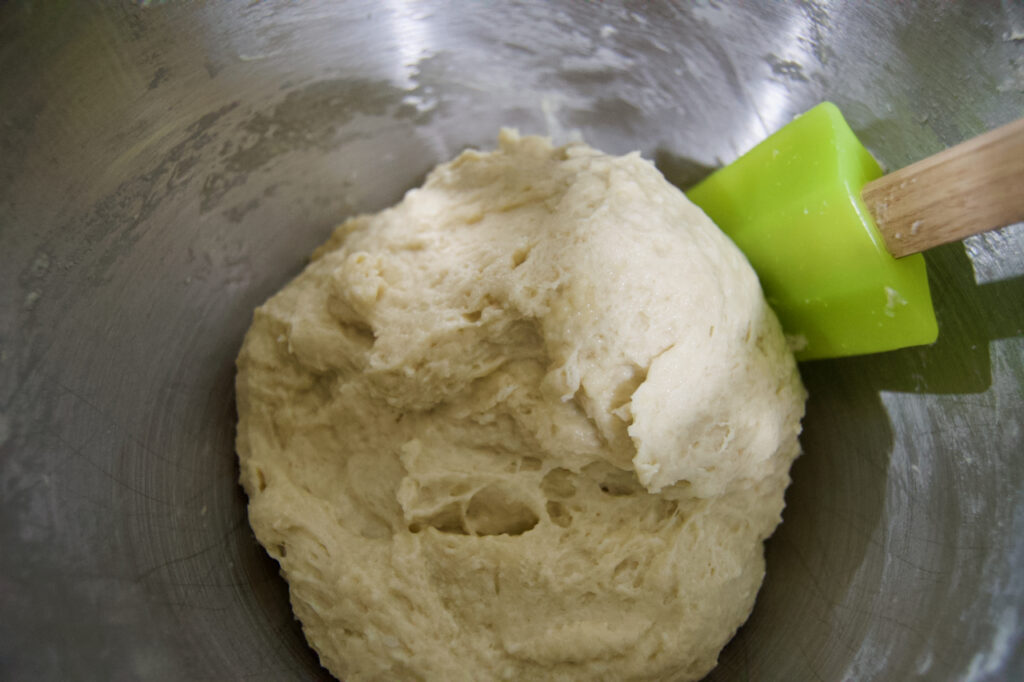
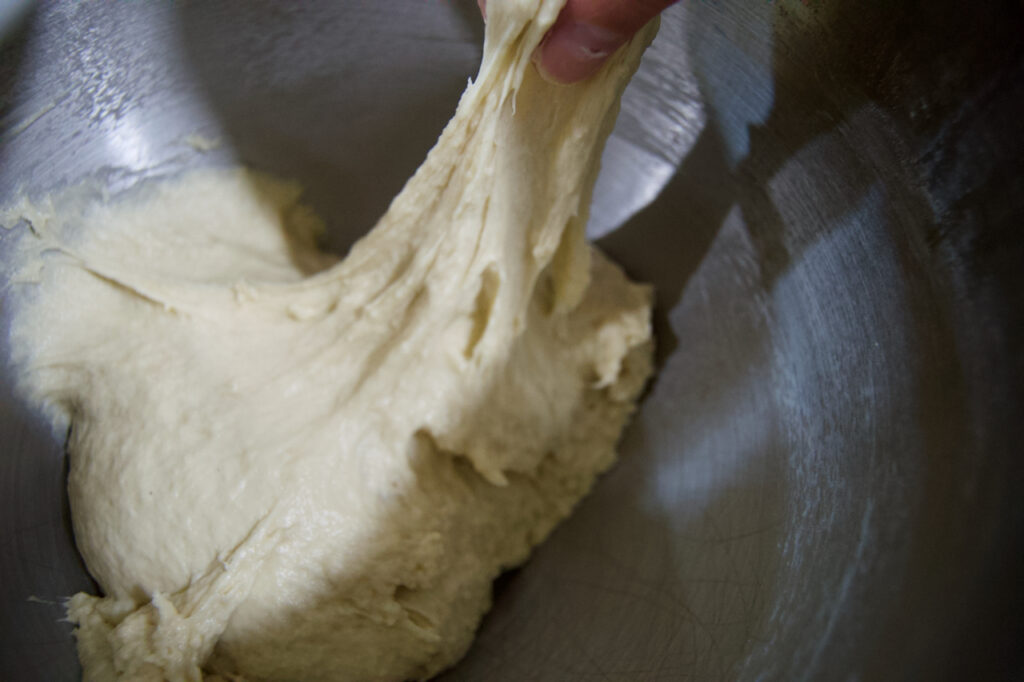
- Once the dough has achieved a sticky ball (it does not need to be smooth) and the flour is no longer visible, scrape down the sides and cover for 30 minutes.
- If you have a mixer, use a dough hook to knead the dough on low speed (#2 on Kitchen Aid stand mixer), or hand knead for 5-7 minutes or until dough is soft and you can pinch the dough and pull it about 2” away. If you knead it too long it will likely break apart before 2” and if you haven’t kneaded it long enough it will be too squishy to pull.
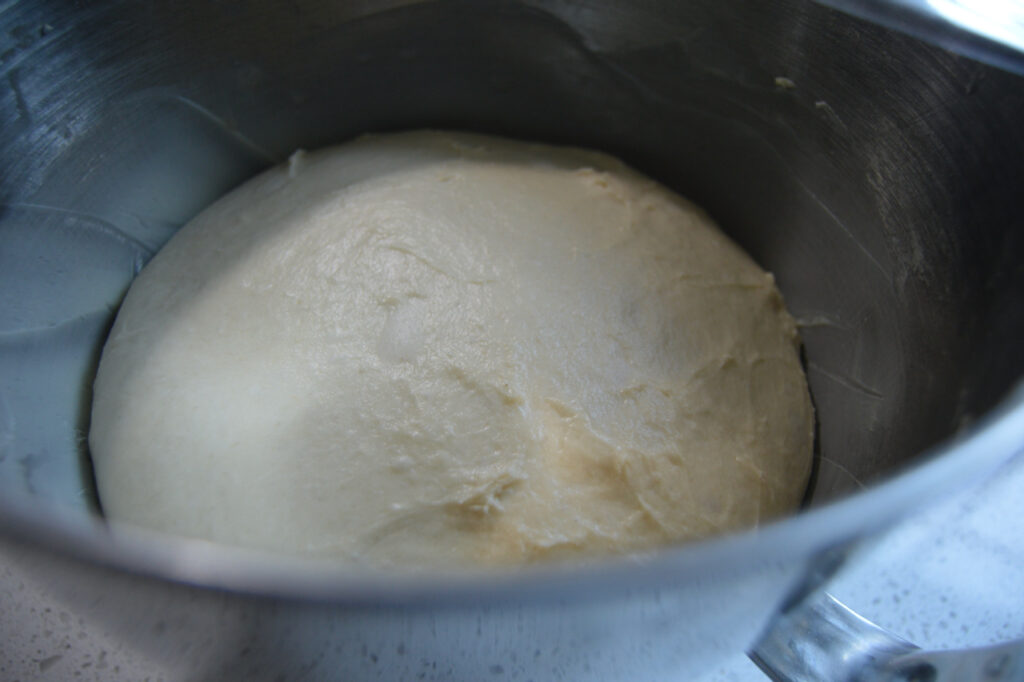
- Cover with plastic wrap for 8-12 hours for bulk fermentation, 1st proof. Room temp determines time. If less than 70 degrees in the house it will take closer to 12 hours. You can put it in the oven with the light on and door closed, or on top of the fridge for a warmer spot, but watch it carefully so it doesn’t overproof. See notes for alternative schedules.
- Dough is proofed when it has doubled in size and appears to be glossy and supple dough. Grease your baking dish (8" or 9" pan, cast iron pan, glass dish or pie plate would all work).
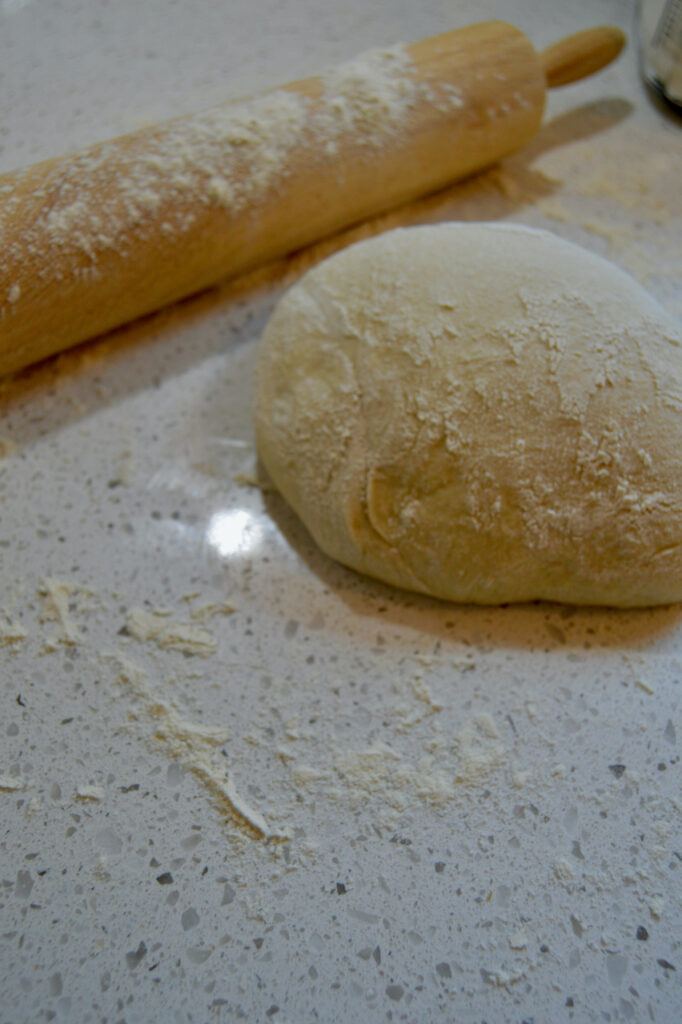
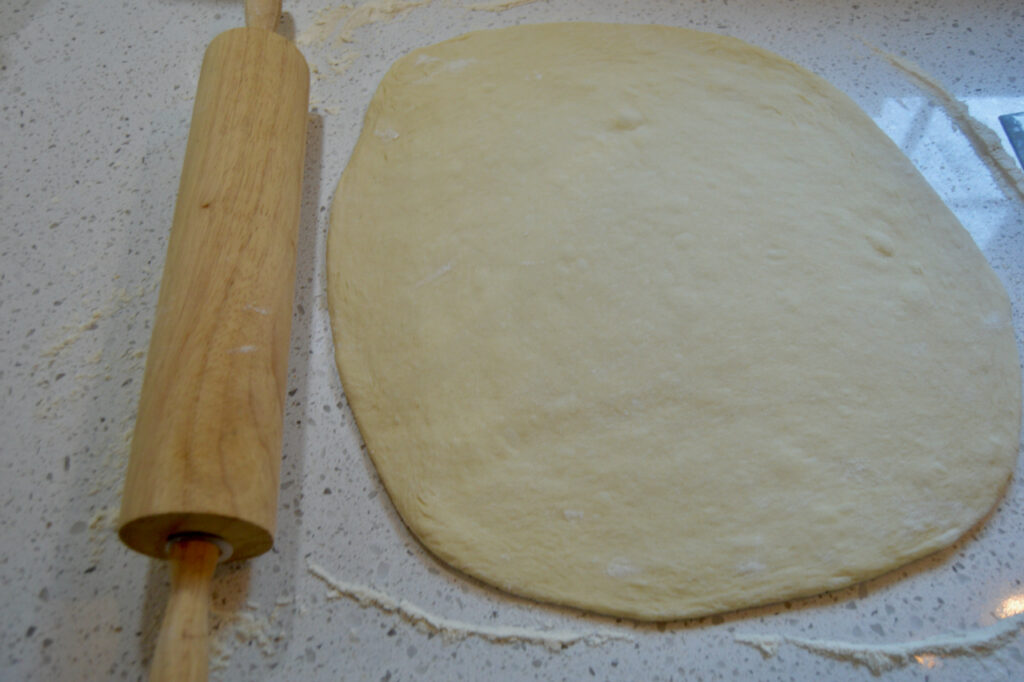
- Turn out onto well floured surface and roll to 14” x 10” rectangle that is about 1/2” thick — it does not have to be a perfect rectangle, try your best.
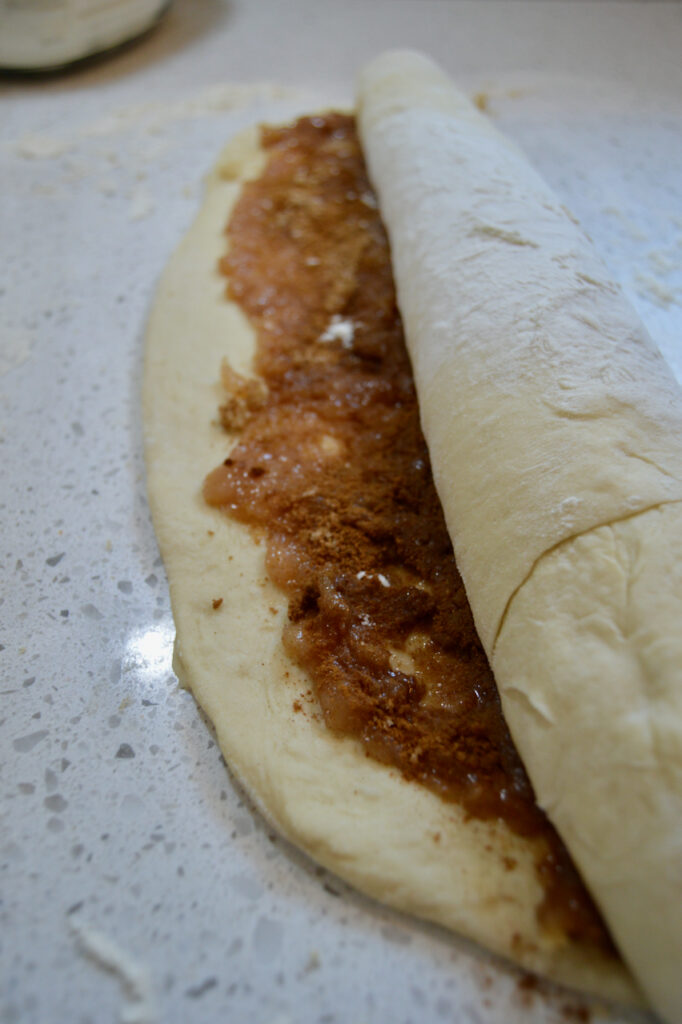
- Using the back of a spoon spread the pear butter over the surface of the dough, leaving a 1/2 inch margin on the shorter sides and on one of the long sides. Get the filling as close as possible to the edge on other long side.
- Sprinkle with brown sugar and cinnamon. Use spoon to press the sugar and cinnamon down if needed.
- Begin rolling the dough with the long edge. Start on the side that has the filling all the way to the edge and roll tightly. Use a bench scraper if dough is sticking to counter, don’t pull it. Roll all the way and with the seam facing up, pinch the seam closed.
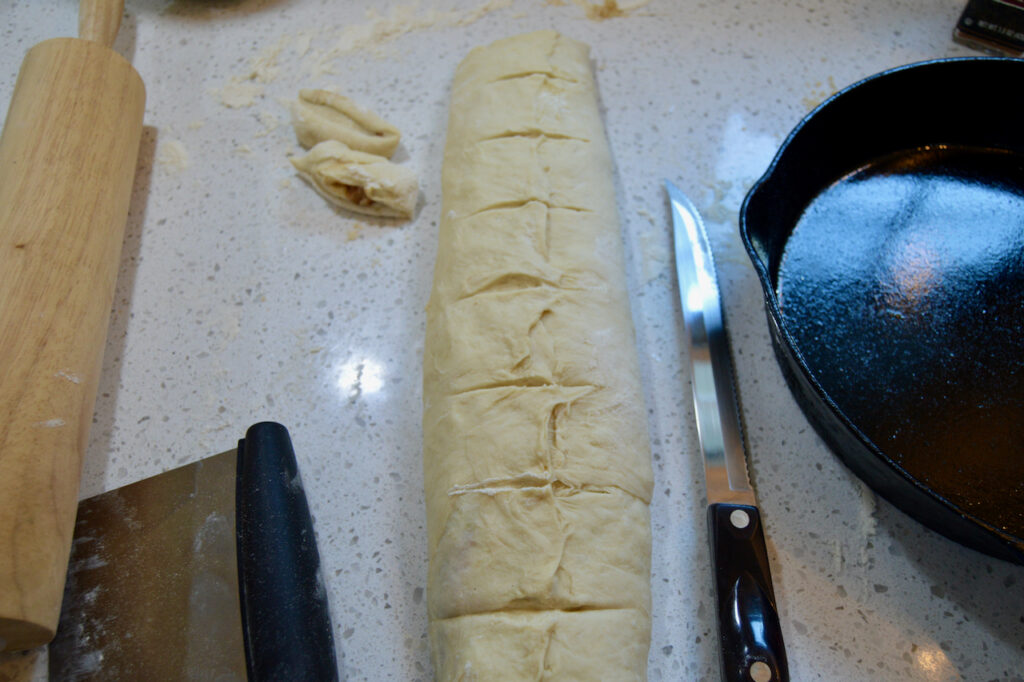
- Trim the 2 ends using a bench scraper so that the roll is even in thickness throughout. Score the remaining log into 8 even rolls. Use a greased bench scraper to cut confidently and quickly. Place the rolls immediately into greased pan.
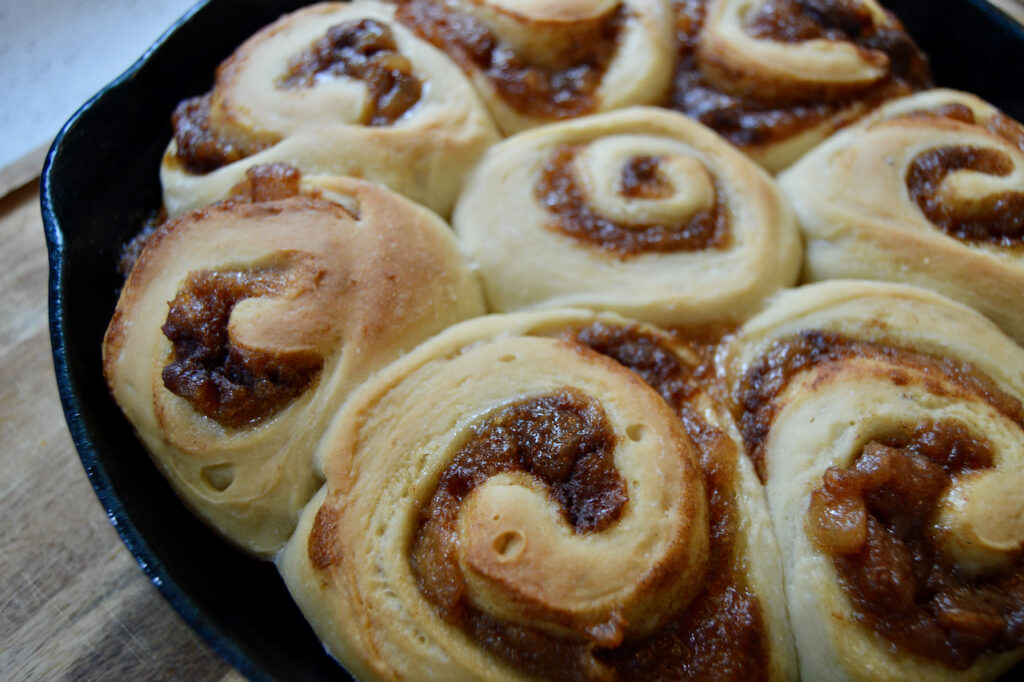
- Once rolls are placed in the pan, breathe a sigh of relief, the hardest part is over! Now cover with plastic wrap and allow to proof/recover. Again depending on room temperature could take 30 minutes to 2 hours. You will know it is ready when rolls are touching each other, and the dough appears puffed up.
- Preheat oven to 350F when rolls are almost done rising. Place in oven for 35 minutes or until golden brown on the top. Allow to cool in pan, this allows the filling to be re-absorbed into the dough after baking.
Honey Glaze
- In a small saucepan put honey, water and spice on the lowest possible setting. Continue whisking until honey has melted and spice is well distributed, then remove from heat. Continue whisking frequently to encourage mixture to cool, you want it to be thicker than water, but not as thick as honey.
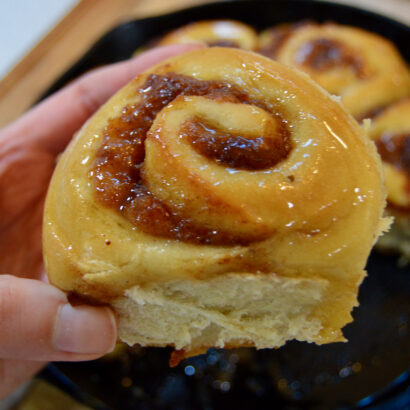
- When the glaze is at the desired consistency, brush or drizzle over rolls (best if done when cooled, but I know we don't have time for that) and enjoy! Serve, or store covered in fridge, reheat before enjoying.
Notes
- These rolls take about 8-12 hours to rise. I recommend starting the dough between 6-7pm the night before you need them. They will rise overnight and (if you’re an early riser) can be shaped, complete the 2nd rise, and baked by 8-10am.
If you’d rather you can start the dough in the AM the previous day, let them rise throughout the day, then shape and place in the fridge overnight for the second proof. They can be taken out of the fridge and baked the next day at your own time - You can use a non-dairy milk if desired and still achieve a similar result.
- If you don’t have sourdough starter, use 1 package active yeast (2 1/4 tsp). Increase milk by 1/8c and flour by 1/8 cup.
- You can use all purpose flour instead of bread flour but the texture might be less fluffy.

5 Comments