Probiotic Sauerkraut made with Cabbage, Beets and Ginger
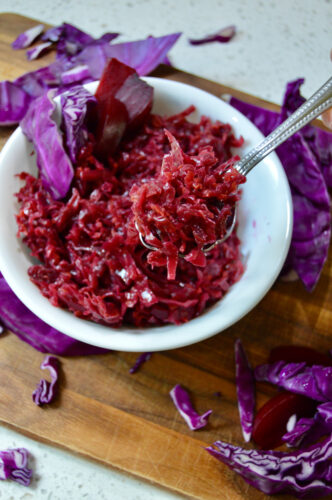
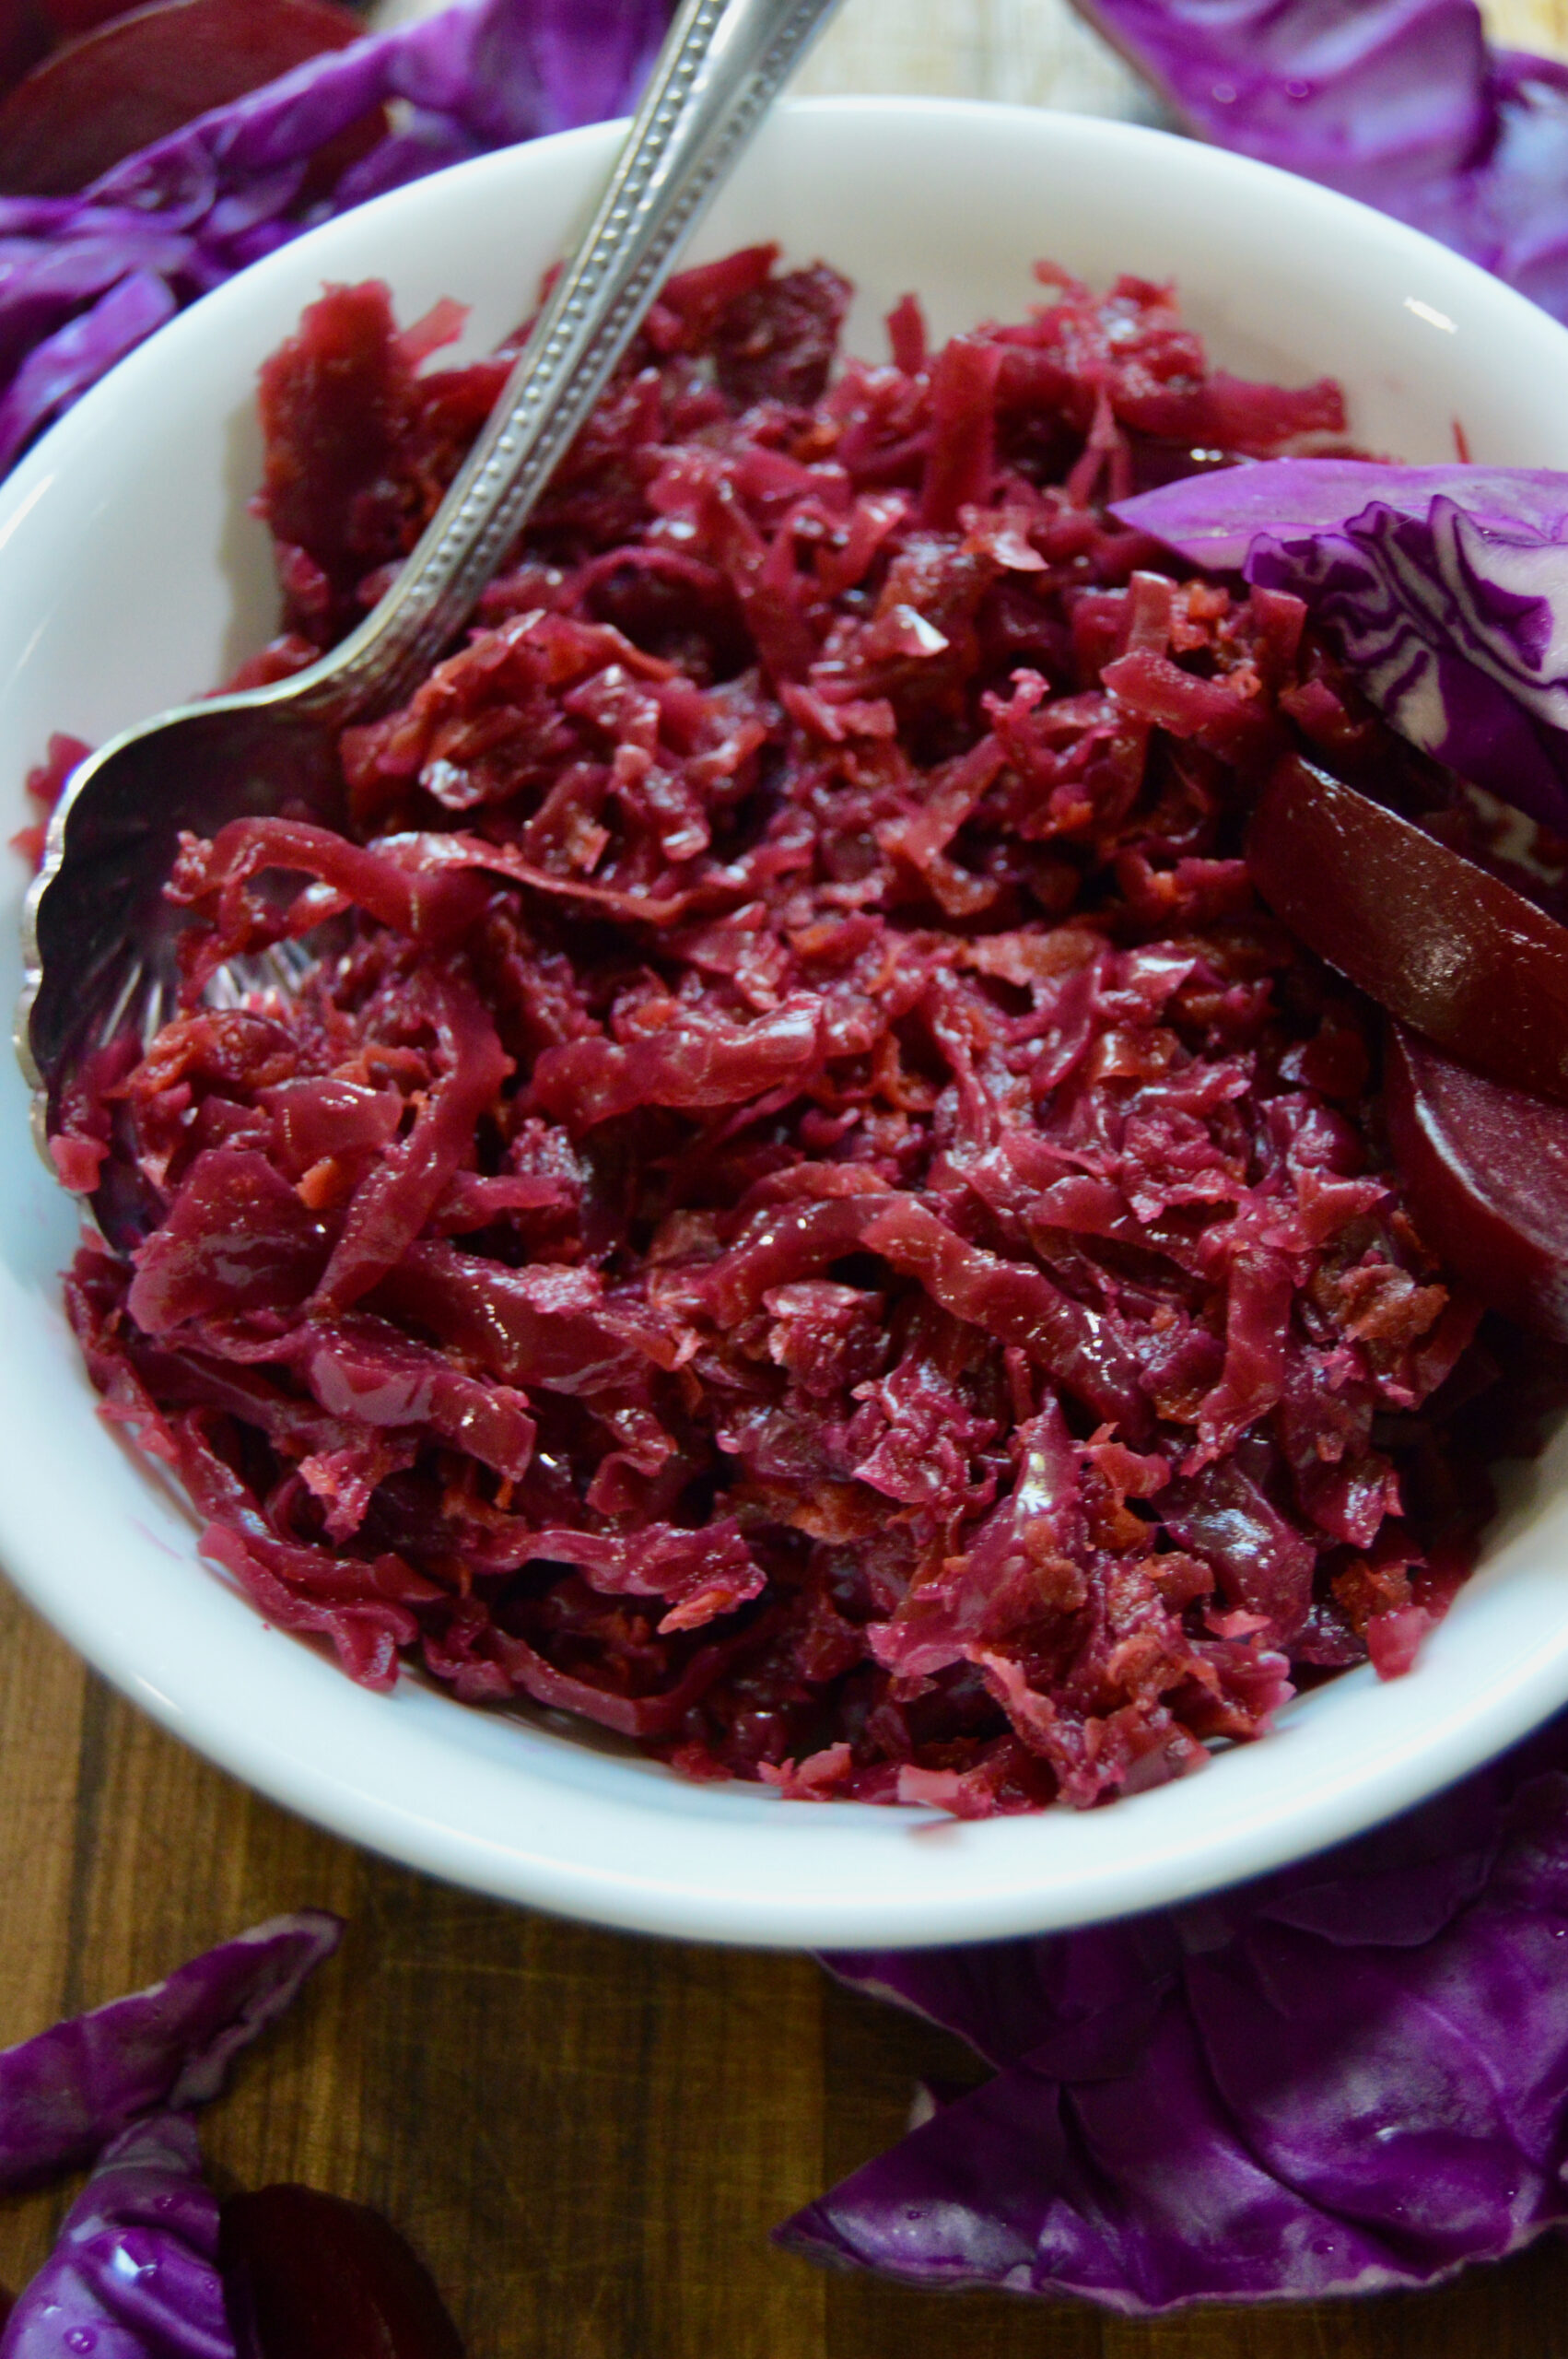
Purple Sauerkraut is a delicious homemade side dish that has natural probiotics and uses fresh cabbage, beets and ginger from the garden. This recipe follows some of the traditional methods of making sauerkraut but has tips to simplify it for the modern home cook.
Probiotic Sauerkraut: From Garden to Table
Purple sauerkraut, similar to the well known German sauerkraut that has preserved cabbage for centuries, uses the same methods but with different ingredients for a tangy and sweet flavor profile. My first experience with sauerkraut was at a farmer’s market. I tried a purple sauerkraut similar to this recipe and it was life-changing. I loved the tang and sweet flavors in addition to its gut-boosting benefits. The only thing I didn’t like was that it cost $10 for 2 cups. So I started growing the ingredients in my garden and did some research to recreate it at home. This recipe is quite simple to make but does require time and patience; I typically make 1 or 2 batches of this recipe when the ingredients are in season and it will last us for 6 months or more in the fridge!
Methods and Science of Probiotic Sauerkraut
For a little bit of background on the science of sauerkraut: similar to sourdough bread, sauerkraut is fermented with “lacto-fermentation”, meaning without oxygen. The natural bacteria found on the cabbage and vegetables along with the carbohydrates will create a reaction that ferments, or makes the vegetables sour. Salt is also used to protect against harmful bacteria and create a liquid brine to protect from oxygen. You will either use a fermentation crock or other equipment (explained later) to protect against oxygen which would spoil the food. After several weeks of fermentation you have “sour-ed” vegetables that is full of lactobacilli, beneficial bacteria for your gut. Studies have found improvement in gut health after eating a small amount of daily sauerkraut, either live (unpasteurized) or cooked due to the fiber, increased bioavailability of nutrients or probiotics based on method of serving.
- Sterilize equipment – in order to safely ferment the right bacteria, you need to make sure your equipment is free of contamination. All utensils should be sterilized in boiling water prior to use.
- Finely chop or shred or grate vegetables. I like using a box grater for the beets but manually slicing the cabbage to get the desired textures.
- You will vigorously massage the vegetables and salt together which will encourage the juice to release. This juice with the salt is a salty brine that will protect your sauerkraut from oxidation and harmful bacteria during the fermentation process.
- Tightly pack the sauerkraut in jars and submerge all vegetables below the brine with fermentation weights.
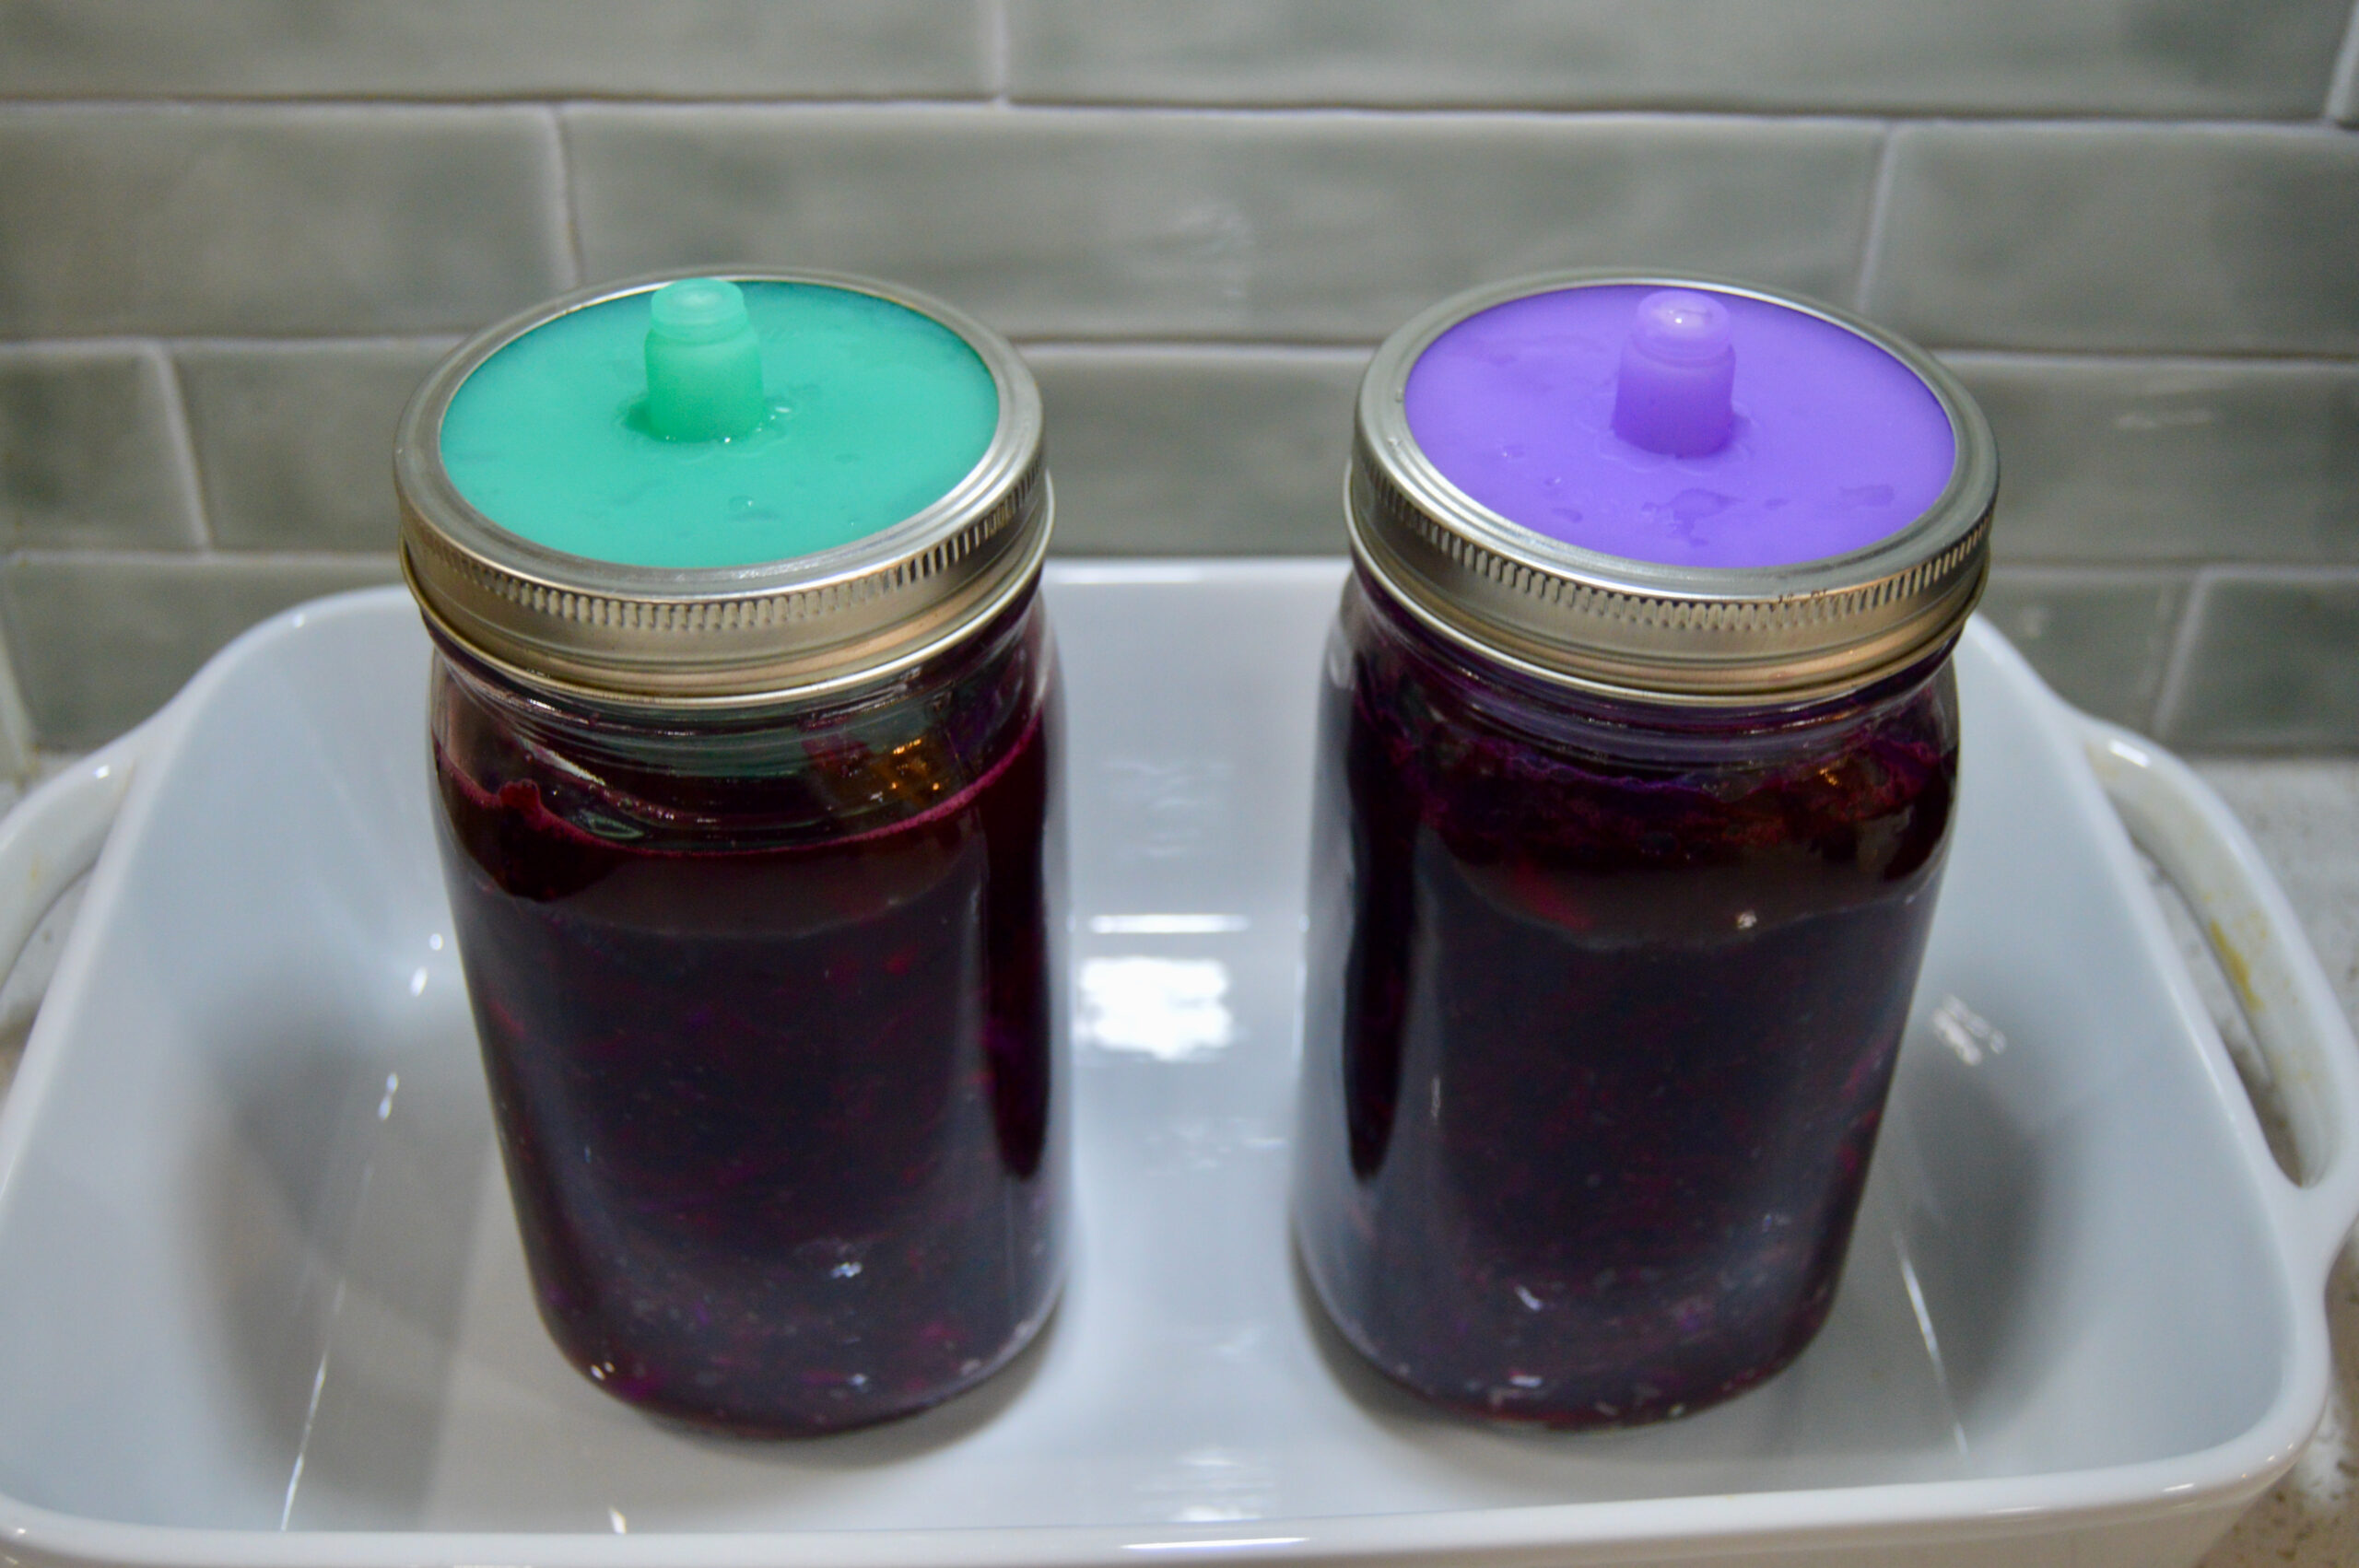
- Use a fermentation lid to allow gas to escape but protect against unwanted particles. Fermentation can take 2-3 weeks, depending on room temperature, to reach the desired tang. I recommend tasting it at 2 weeks to determine if more time is needed.
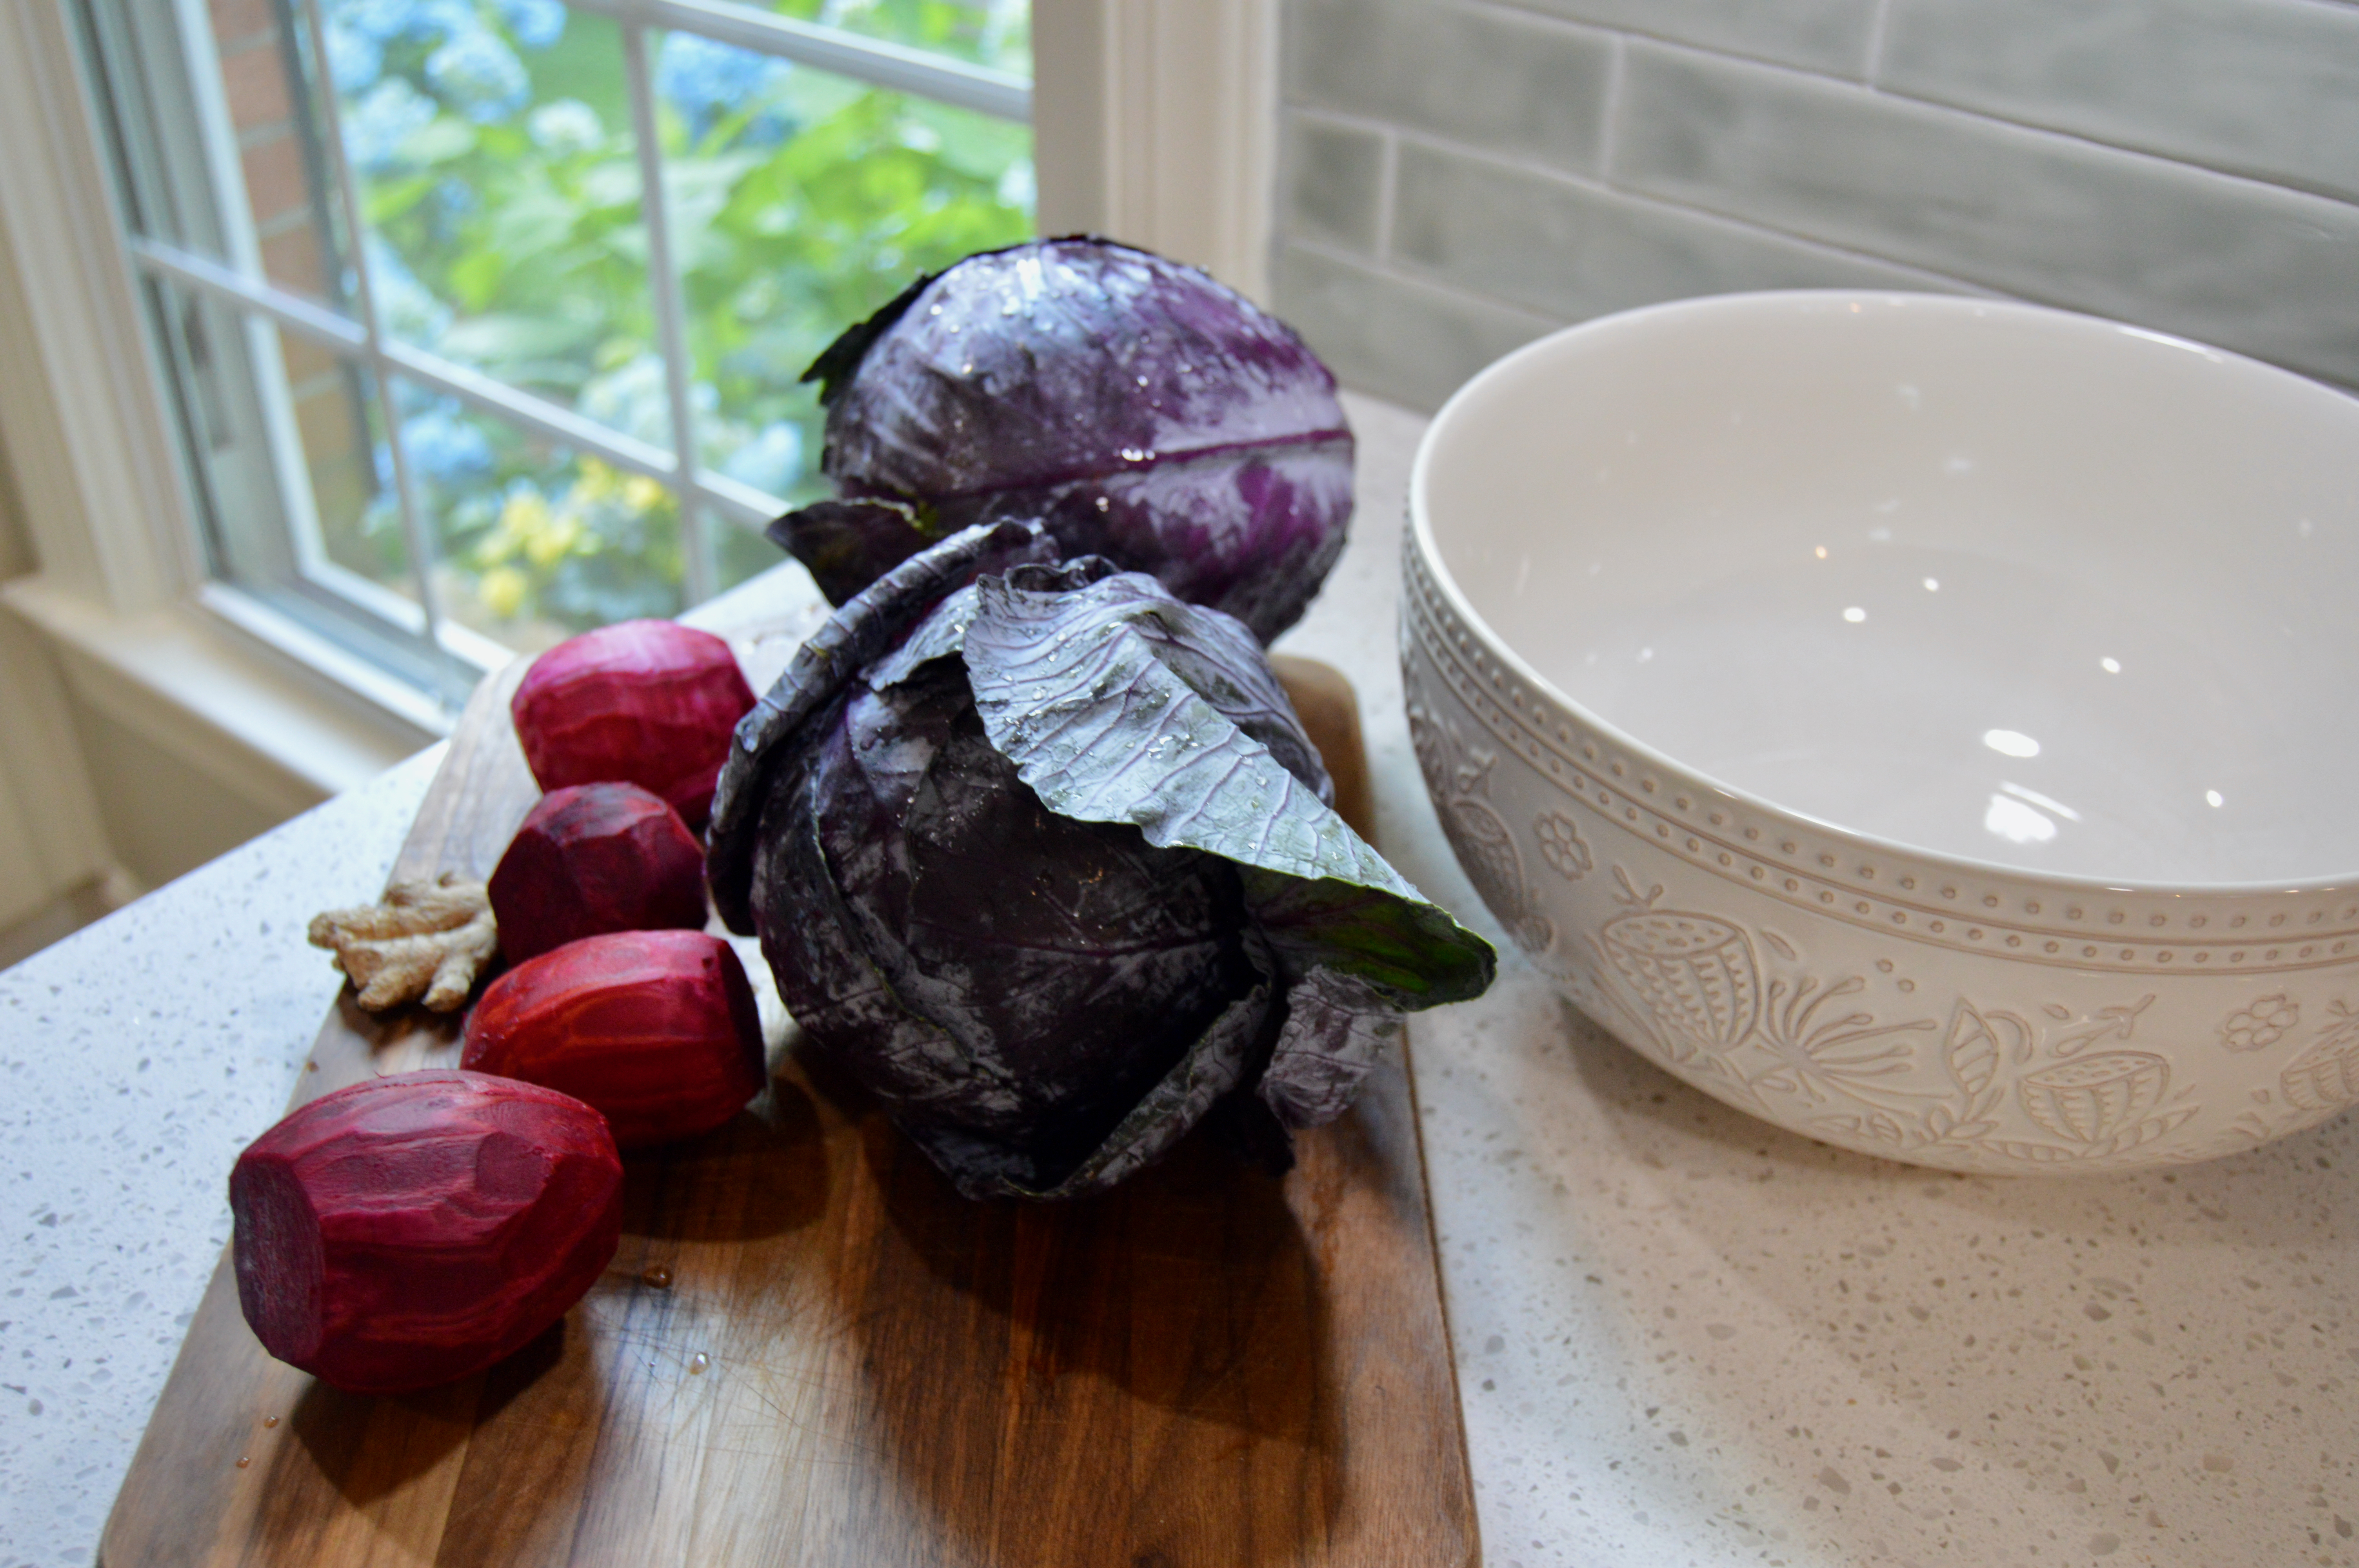
Fresh Ingredients for Probiotic Sauerkraut
- Red cabbage – fresh red cabbage, best if organic.
- Beets – Red beets have an increased sugar content which accelerates the fermentation process. First, I grate the beets. When the sauerkraut is finished, you won’t taste a distinct beet flavor due to the fine grated method but the nutritional benefit will still be there!
- Ginger – Fresh or frozen grated ginger will work for this recipe. It brightens the flavor profile and ginger is also great for nutritional benefits.
- Salt – It is important that you use a good salt. I recommend Pink Himalayan or Sea salt. Look for a salt that does not have anti-caking additives.
Other Recipes to Try
- More Garden to Table content – I’m using what is fresh in the garden and bringing it to our table.
- Nourishing Chocolate Chunk Cookies – This cookie is packed with nutrient dense ingredients and decadent flavors. Enjoy this from-scratch treat for a snack or dessert without the sugar crash!
- Tzatziki Chicken Salad – A high protein recipe that is just like it sounds: chicken salad meets tzatziki sauce!
Supplies needed for Probiotic Sauerkraut
This post may contain affiliate links, I may make a small commission off these items if purchased. This does not influence my recommendations or price of the item if purchased.
- Wide Mouth Mason Jars – I recommend a 32oz wide mouth jar to ferment your sauerkraut in. You could go even more old fashioned and use a fermentation crock.
- Fermentation weights – if you don’t use a traditional fermentation crock you will need weights to keep vegetables below the brine. If you skip this piece you risk getting moldy vegetables! I’ve had great success with these weights and they are the right size for the jars I linked above.
- Fermentation lids/pickle pipe – the fermentation process produces gas as a natural byproduct of the chemical reactions. These lids allow gas to escape without letting in unnecessary air that would spoil your recipes. If you skip a lid like this you will have to “burp” your jars daily to prevent explosion.
- Kitchen scale – I recommend a kitchen scale for the most accurate measurements for this recipe.

Probiotic Sauerkraut
Equipment
- 1 32oz wide mouth glass jar with metal ring lid
- 1 fermentation lid
- 1 box grater
- 1 cutting board
- 1 large knife
- 1 kitchen scale
Ingredients
- 1 small-medium red cabbage
- 2 fresh beets, peeled and tops removed
- 3 tsp grated ginger, fresh or frozen
- 2 % of total vegetable weight Pink Himayalan salt
Instructions
- Sterilize jars, lids, rings, weights with boiling water.
- Place large mixing bowl on kitchen scale and write down the weight of the bowl in grams.
- Wash cabbage and remove outer leaves.
- Thinly slice the cabbage and add to large mixing bowl.
- Grate fresh beets into large mixing bowl. And add ginger.
- Place bowl back on kitchen scale. Subtract the recorded weight of the bowl without the vegetables to get your total vegetable weight. Multiply that number by 0.02 to get 2% of the weight of the vegetables.
- Measure out salt to equal 2% of the total vegetable weight and add to bowl.
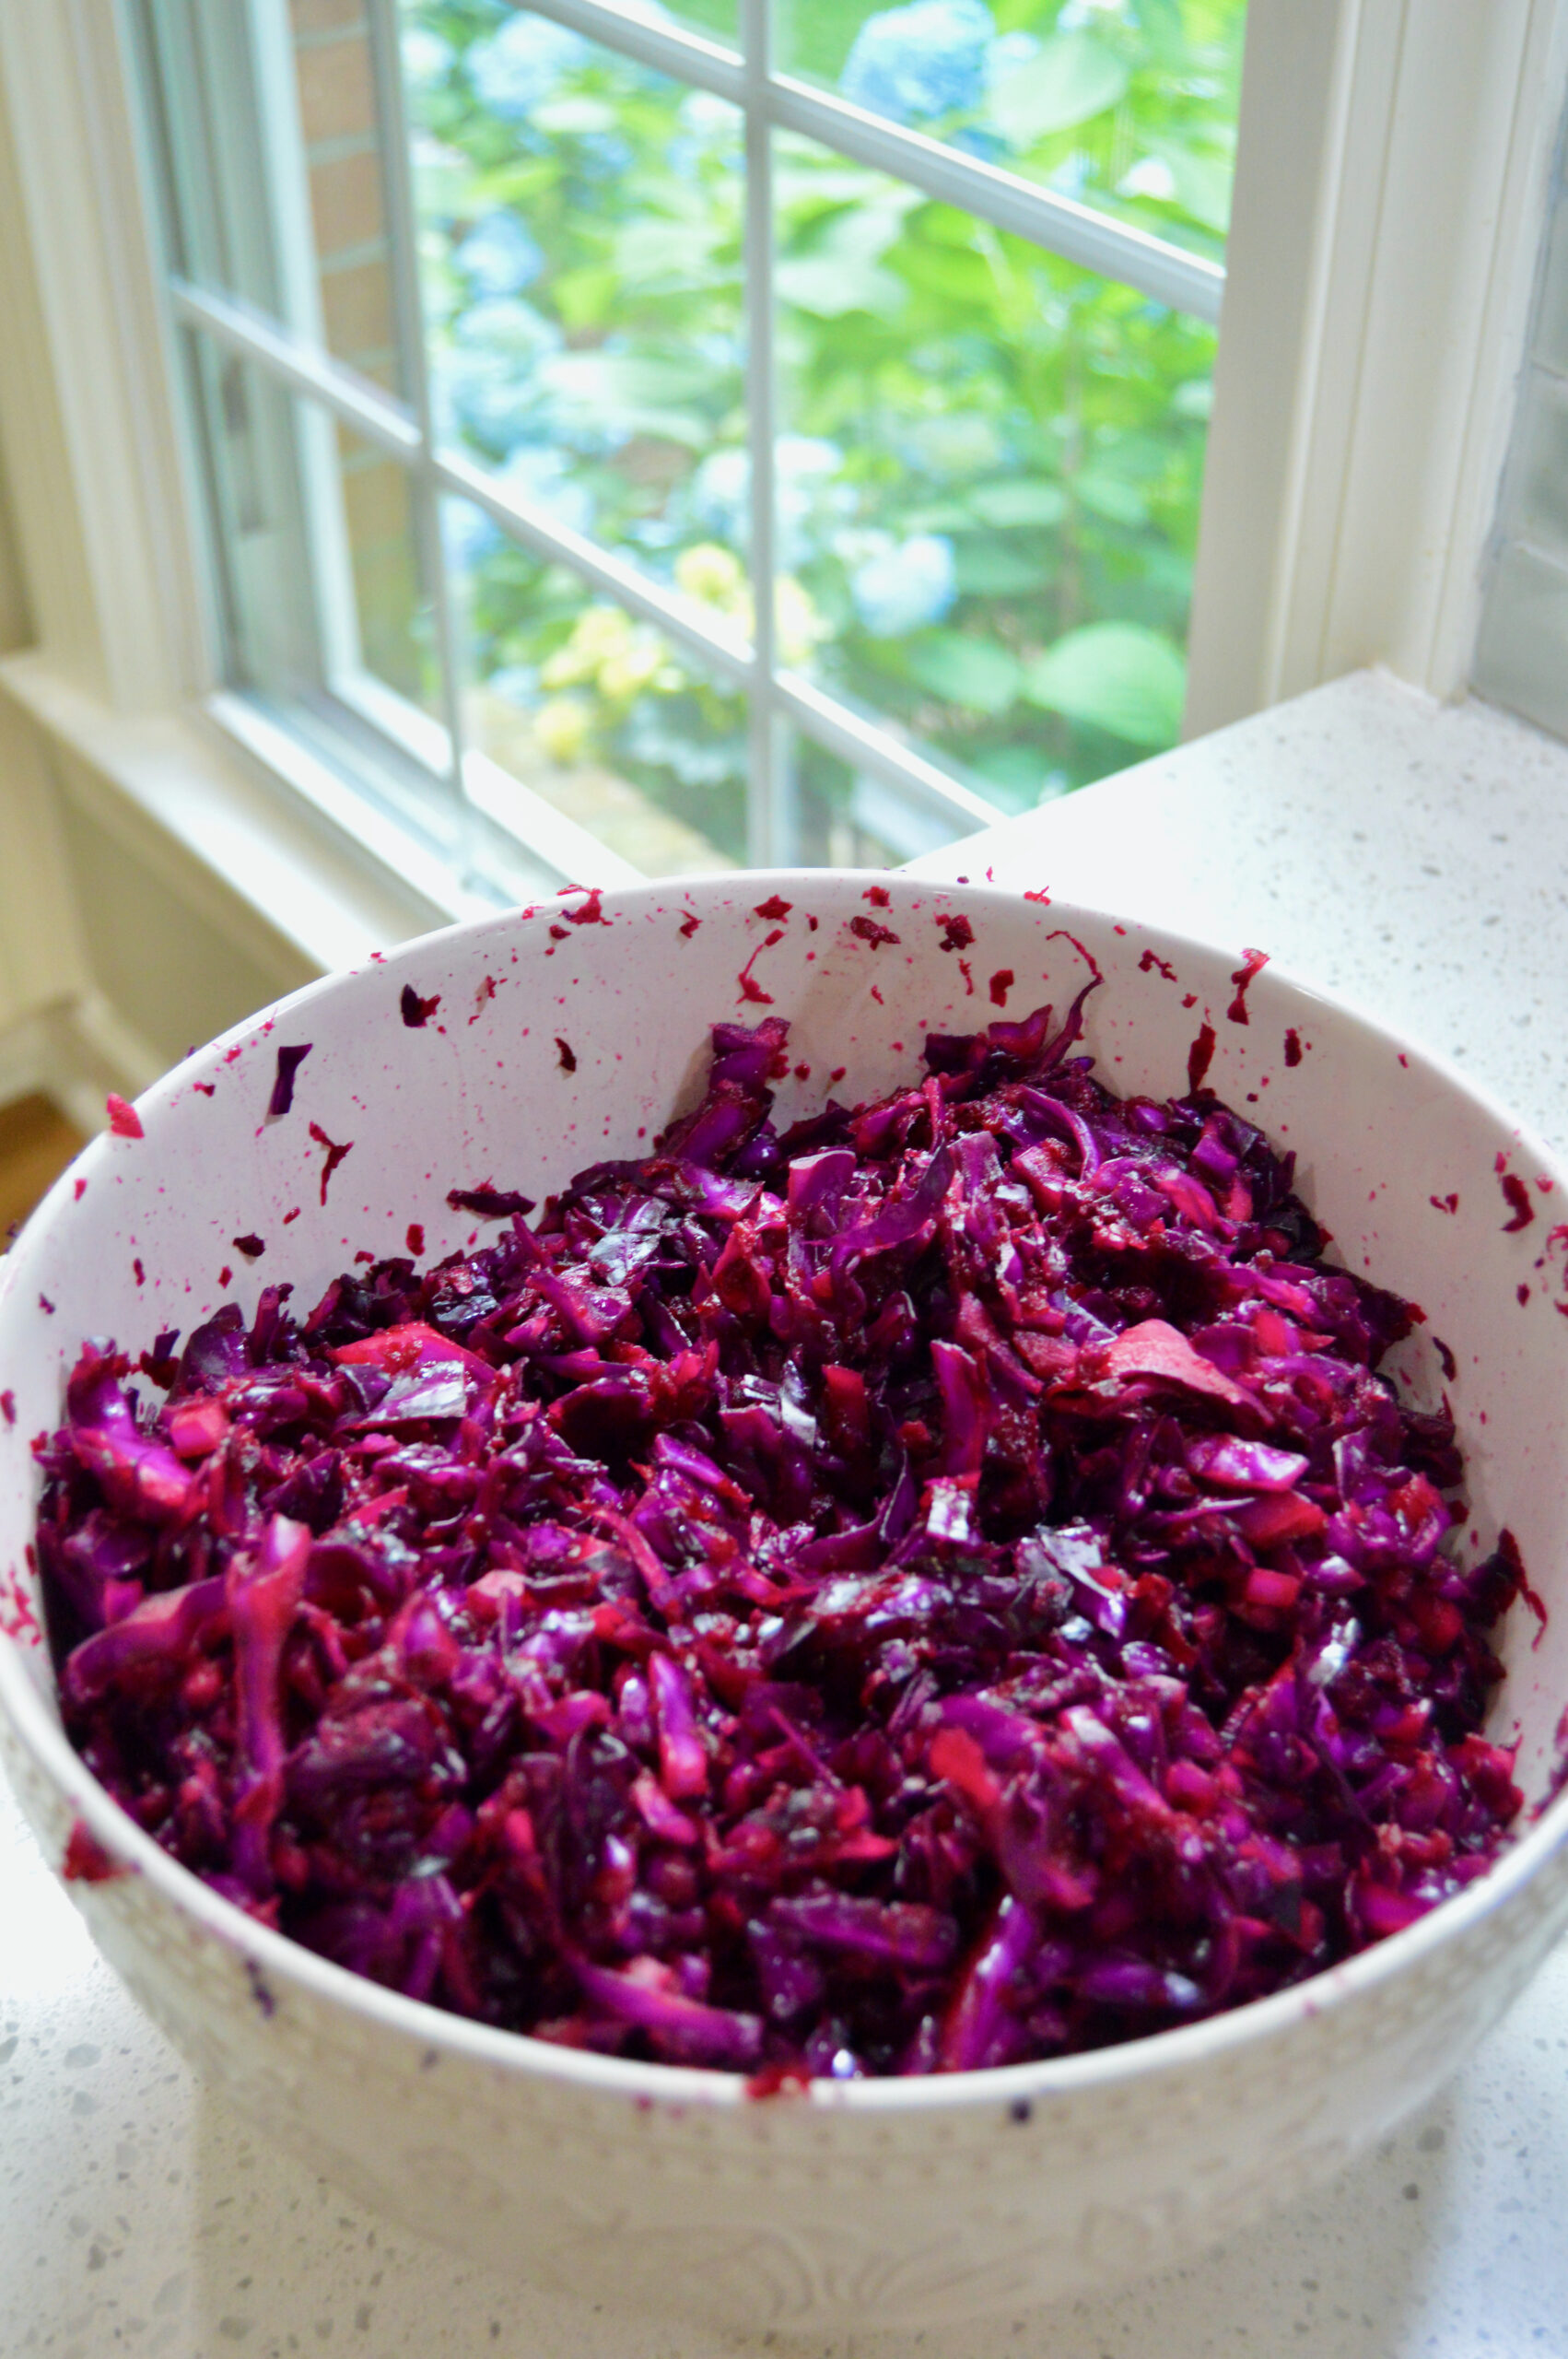
- Knead/massage the salt into the vegetables for 5-10 minutes. The cabbage should become soft and juice should begin to release from the vegetables.
- Allow vegetables to sit in bowl for up to 1 hour to allow more juice to release.
- Pack sterilized jar with sauerkraut mixture. Pack tightly to reduce air bubbles. Fill to leave about 2" of head space.
- Add fermentation weight above packed sauerkraut and push down. Top with remaining brine in mixing bowl to submerge all vegetables in brine. If any vegetables are left above brine, remove them to prevent mold.
- Top with fermentation lid and metal ring to secure.
- Place jar in a cool, dark place for 14-21 days. I recommend placing a plate or swallow pan beneath jar as brine may overflow in fermentation process.
- When vegetables have reached desired fermentation – move to fridge to stop further fermentation.
Notes
Let me know what questions you have in the comments! Tag me @nourishtoflourish.blog on Instagram!
